Showing posts with label flowers. Show all posts

28 April 2014

Do It Yourself // Floral Bicycle Basket

Calling all bike lovers! If you want to pretty up your bicycle for the summer, then this one's for you! It's been a super long time since I've done a project because of the winter, and I'm so excited to share this one. In the Fall my Aunt Peggy got a totally rad new pink and black beach cruiser (jealous!) and was kind enough to pass her old mountain bike on to me. As thankful as I was, it just wasn't the bike for me. And oh, how Jesse longed for it. So much so, that when the snow finally melted, he went on a hunt to find me a lady bike. Lucky for him, his wonderful sister just happened to have the perfect bike for me. Yay! 
I hate that its silver but Jesse says it's "too much work" to paint it the colour I want it. That didn't stop me from making it my own by prettying it up with some flowers. So today I'm going to show you how to make a floral bike basket in four easy steps with pretty cheap supplies. You can whip up a sweet bouquet of flowers for $10 or less at your local dollar store, and everything else are things most people just have laying around the house. Okay, let's get started!

What you'll need:
A bicycle (hehe)
Wire bicycle basket
Artificial flowers in a variety of your choice
Fishing line
Floral tape (or any tape if you don't mind the look of it)
Scissors
Sewing needle
A buddy, because fishing line is a real bitch

Before we start, I should mention this tutorial is probably only helpful if you have a wire basket. If you're using a woven or wicker basket I'd recommend doing steps one and two and then using a hot glue gun to secure it to the basket, or adding the flowers on as you weave the fishing line. 

Step One Take the flowers you wish to use off their stems, they should just pop off. The amount of flowers will depend on whether you want to wrap the flowers around your basket or just line the top of the front. Lay them out in the order you want them to appear. 
Step Two Measure the length of the area of you basket and add about a foot or two. Use that measurement for your fishing line, except double it and then cut it. Thread the needle and tie the end so now you have the length of your basket but the fishing line is doubled for extra durability. This is where your buddy comes in handy, your fishing line will be difficult to deal with and you may tangle your flowers and it's really annoying. Start threading your first flower through the middle bottom (where the stem starts) and through the middle top of the flower (where the pollen is). Get your buddy to hold the end so it stays untangled. Buddy-less? Use a heavy object. Keep doing this with all the flowers until you have a floral garland. Make sure you still have lots of fishing line on each side to work with as you'll be taping it the basket. 
Step Three Tape the first end of the fishing line to where you want to start your flowers with the floral tape. You may wish to use other tape but I used floral tape because it blends into the flowers so you can't see it. Start weaving the fishing line through the wires while arranging the flowers how you'd like to be placed. Tape where needed, as some flowers may be heavy and not stay where you wish them to. 
Step Four Take a step back to see how the flowers look and arrange any that seem out of place. Tape where necessary. Once you are satisfied, cut any excess fishing line and then tape the end to the basket, keeping it hidden. 
Et voila! Attach your beautiful new basket back onto your bicycle, put the Beatles on your iPod and take a nice leisurely bike ride. Or, if you're not much into biking, but your mom is, this would make for an excellent Mother's Day gift - handmade, just how they like it! xo

3 February 2014

BIG SISTER'S BABY SHOWER


The shower ended up being kind of a bust because the weather was so horrible. But, Cherie got to see a few friends and family before heading back home, so that was nice. It was a small enough event anyway that we didn't mind only having a few guests.

I don't know what my problem is, but I always seem to get photo evidence that an event took place and was decorated nicely, but I always fail to take photos once all the guests arrive. Oh well, at least you can see how pretty my kitchen was on Saturday! Decorating for a small event like this is so simple. I just follow 3 simple steps: fresh flowers, colourful well placed balloons and a pretty cake! Voila, beautiful baby shower decor.

19 June 2013

Photos :: In Bloom

Our garden has really come a long way since we first moved in. Our flowers have taken a beating with the frost and heavy rain, so they are kind of growing slowly - but a lot of them are just starting (or trying really hard to) bloom. Here are some photos of them and other misc things we've been doing around the yard.


Those painted clay pots have done wonders for the colour in the back yard, it's really livened it up. Lastly, here is Josie Bear in her new Cosatto stroller! She loves it, especially the colour. It's so much easier to boot around in compared to the big stroller we have. 
Have a lovely Wednesday!

25 May 2013

Photos :: Rainy Day Garden


I'm sorry, I'm just SO in love with all the flora in our yard. The couple days of rain we had made everything flourish so big - the peony tree grew almost a full foot! And as sad as it is to see the early flowers wither and die, I can't wait to see all the new buds when they bloom.

I hope everyone is having a wonderful weekend!

21 May 2013

Photos :: The Garden

A few posts back I showed you some photos of the backyard and how awful the garden was (see post here). This weekend my mom and I bought a whole lot of new flowers and if it weren't for the storm we had last night, we would've had everything transplanted by now.

I was going to do a weekly nail post because it's been a couple weeks since I've done so, but I've been too busy to care for my nails because of the garden. I was testing the light outside during different times of the day, different shading etc. and the flowers were a great subject. Some of the photos turned out great, while some didn't (the sun was too bright for the gerber daisy photos).


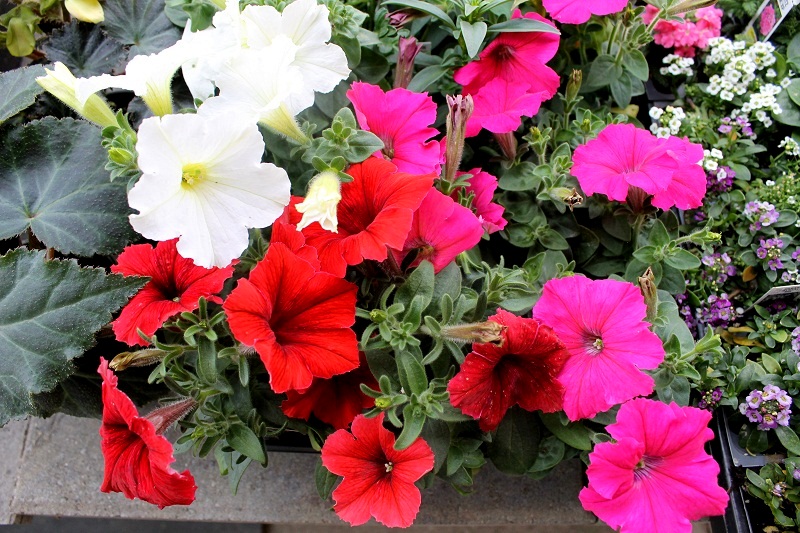
We bought colourful mixes of our favourite flowers: Gerber Daisies, Verbena, Dahlias, Portulacas, Celosia, Petunias, Pixie Lillies, Merigolds and my very favourite, Shasta Daisies. There's a couple things we love in the front gardens already like tulips, lillies, hostas, pansies and peonies but we're still going to plant some things out there too. I'm so excited to show you guys the end result!

It started to down pour as we were turning the soil up and clearing out the weeds and it hasn't let up today either! Guess there's no gardening for me today! How is your flower garden coming along?
© Northern Flicker Co.
Design:Maira Gall.